Window glass is durable, but it’s not invincible. Over time, cracks or chips can form due to impacts, extreme weather, or wear and tear. Whether it’s a small chip on your car window or a larger crack on a window in your home, it’s essential to repair the damage promptly—not only to maintain the aesthetic appeal of your windows but also to prevent further damage and improve energy efficiency.
We’ll walk you through the steps for fixing cracked or chipped window glass, explore when a DIY fix is appropriate, and highlight when it’s time to call in the professionals.

Why You Should Repair Cracked or Chipped Window Glass
Before diving into the repair process, let’s quickly review why it’s important to address cracked or chipped window glass as soon as possible:
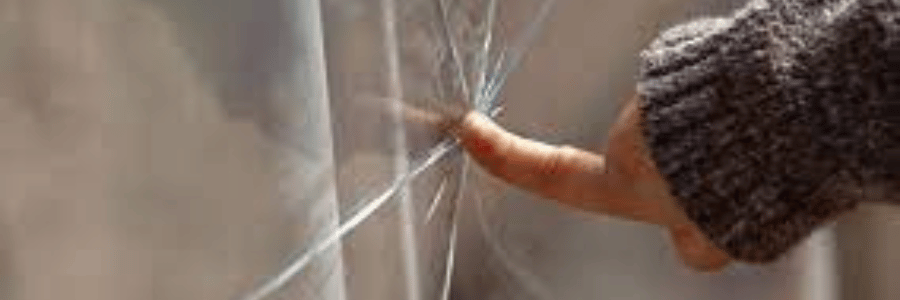
- Prevent Further Damage: A small crack or chip can worsen over time, especially if the window is exposed to extreme temperatures or pressure. Repairing the damage early prevents the crack from spreading and becoming a more significant issue.
- Improve Energy Efficiency: Cracks or chips in window glass can lead to air leaks, which may impact your home’s heating and cooling efficiency. By repairing the damage, you can reduce energy loss and maintain a comfortable temperature indoors.
- Safety: Cracked glass can be a safety hazard, especially if it’s on windows or doors that are frequently used. If the crack worsens, there’s a risk that the glass could shatter, posing a potential injury risk.
- Aesthetic Appeal: A cracked or chipped window is unsightly and can lower the overall look of a room or the exterior of your home. Fixing the damage helps restore the appearance of the window, contributing to your home’s overall curb appeal.
When to DIY and When to Call a Professional
While minor chips and cracks can often be fixed yourself, more severe damage may require the help of a professional. Here’s a quick guide to help you decide whether to attempt a DIY fix or call in an expert:
- DIY Fix: Small chips or cracks (less than 3 inches long) in non-structural windows (like single-paned windows or car windows) can usually be repaired with a DIY kit. If the crack is in a location that doesn’t compromise the window’s strength or safety (e.g., a window that doesn’t face heavy impact), DIY is an excellent option.
- Professional Repair: For cracks longer than 3 inches, cracks in structural windows (like double-glazed windows), or cracks that span across the entire pane, it’s best to call a professional. These types of repairs often require specialized tools, knowledge, and techniques to ensure a proper fix.
Materials You’ll Need for DIY Window Glass Repair
If you’ve determined that your window can be repaired with a DIY solution, here’s a list of materials you’ll need for the job:
- Window Glass Repair Kit: These kits typically contain epoxy resin, hardener, and an applicator tool. Many kits are specifically designed for automotive or home windows.
- Glass Cleaner: To ensure the surface is clean and free of dust, dirt, or grease.
- Masking Tape: To hold the glass in place or protect areas around the crack while you work.
- Putty Knife: Useful for scraping away excess resin or adhesive.
- Rubber Gloves: To protect your hands from the repair materials.
- Razor Blade (optional): For smoothing out any excess adhesive after application.

Step-by-Step Guide to Repairing Cracked or Chipped Window Glass
Now that you have your materials ready, follow these step-by-step instructions to repair your cracked or chipped window glass.
1. Clean the Area
Start by cleaning the area around the crack or chip. Use a glass cleaner and a lint-free cloth to remove any dust, dirt, or debris. If the crack is dirty, it may prevent the repair resin from bonding properly to the glass. Allow the area to dry completely before proceeding.

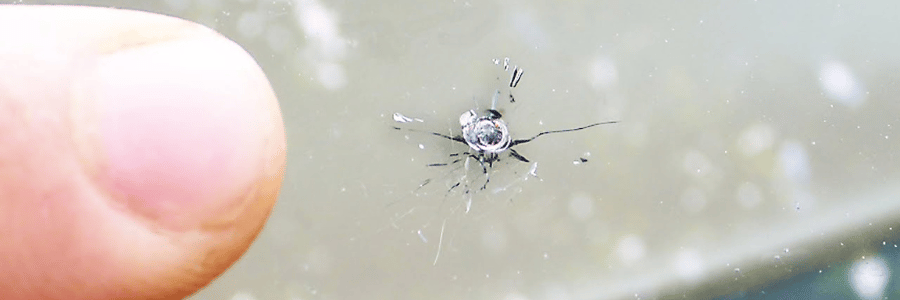
2. Assess the Damage
Take a closer look at the crack or chip. If the damage is shallow and small, you may be able to fill the chip with resin. For larger cracks, you may need to reinforce the area with additional materials or decide if it’s better to replace the entire window.

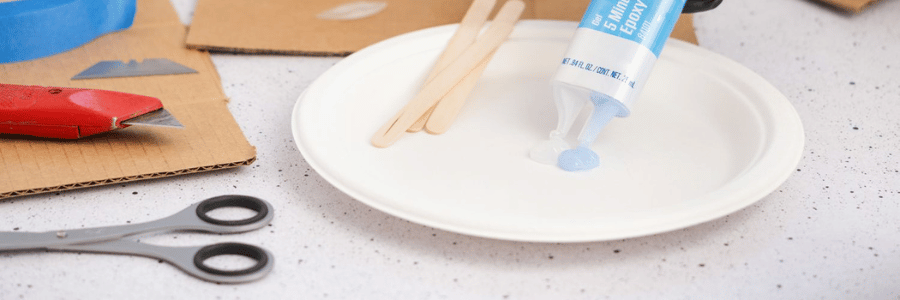
3. Prepare the Glass Repair Kit
Most window glass repair kits come with a resin and hardener that need to be mixed together before application. Follow the instructions on the kit carefully. Typically, you’ll mix a small amount of resin with the hardener in a separate container.
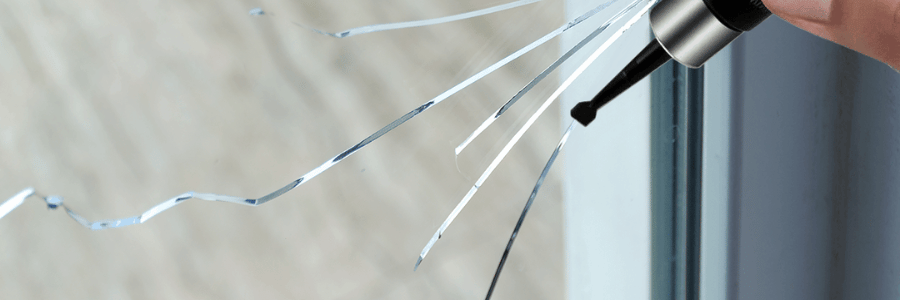
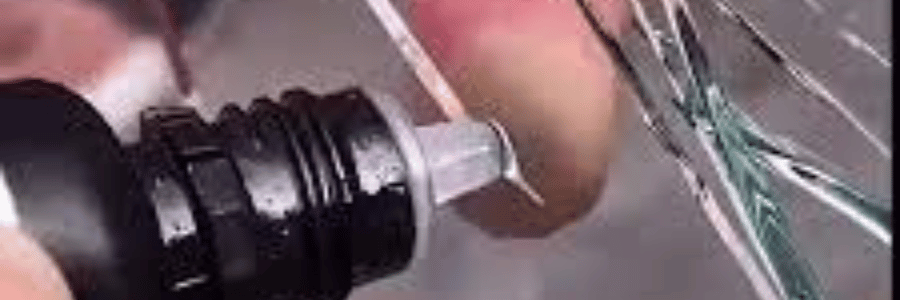
4. Apply the Repair Resin
Once your kit is prepared, use the applicator tool (often included in the kit) to apply the resin directly into the crack or chip. Make sure the resin fills the entire crack. For chips, gently press the resin into the damaged area until it’s level with the surface of the glass.
5. Smooth the Resin
Use a putty knife or the applicator tool to smooth out the resin. The goal is to make sure the resin fills the chip or crack entirely and that the surface is as even as possible with the surrounding glass. You don’t want any bumps or uneven patches. If the kit comes with a curing film, apply it over the resin to help it cure properly.

6. Allow the Resin to Cure
Follow the instructions on your glass repair kit for curing time. In most cases, the resin will need to harden for 15 to 30 minutes, depending on the product and environmental conditions. Avoid touching the repair area while it’s curing to ensure a smooth, even finish.
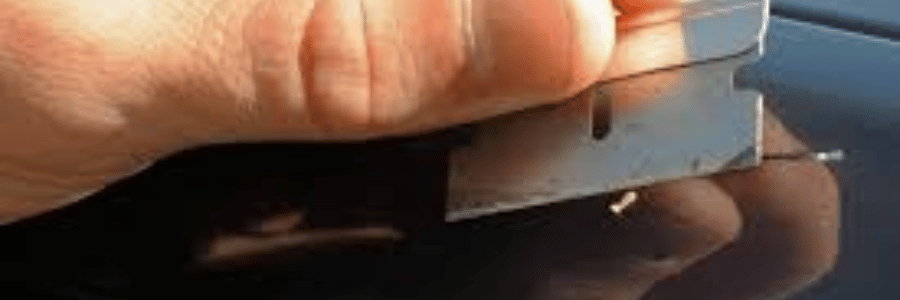
7. Remove Excess Resin
Once the resin has cured, use a razor blade or putty knife to gently scrape away any excess resin that might have oozed out of the crack or chip. Be careful not to scratch the surrounding glass while doing this. The goal is to make the repair blend seamlessly with the rest of the window.
8. Clean and Inspect the Window
After scraping off the excess, clean the window with glass cleaner to remove any remaining residue from the repair process. Inspect the crack or chip to make sure it’s fully repaired and that the resin has adhered properly.
If you’re satisfied with the result, the window is now ready to be used. The crack or chip should be much less visible, and the repair should prevent it from worsening.

When to Replace the Window
While DIY repairs can work well for minor cracks and chips, there are certain situations where replacing the window is the best option. These include:
- Large Cracks: If the crack is more than a few inches long, it may be beyond the repair capacity of a DIY kit.
- Structural Windows: If the damaged window is a structural window, such as a double-glazed or insulated glass unit (IGU), repairing it may not be an option. These windows require special tools and expertise to replace.
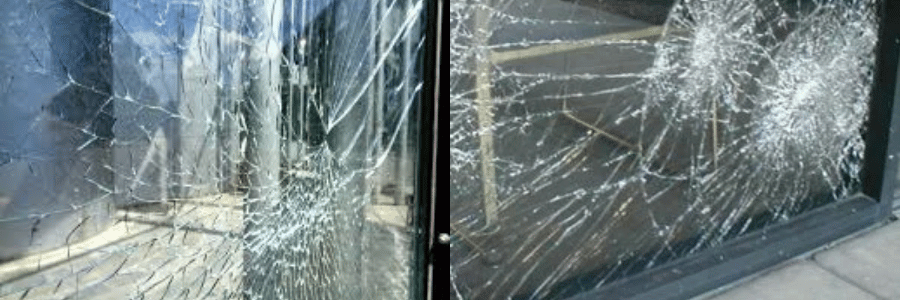
- Shattered Glass: If the glass has shattered completely or is severely cracked, repair isn’t possible, and a full replacement is necessary.
- Persistent Cracks: If the crack continues to expand after the initial repair, it may indicate a deeper problem with the window’s integrity, requiring a replacement.
Conclusion
Repairing a cracked or chipped window is a practical and cost-effective way to extend the life of your windows and improve your home’s energy efficiency. With the right materials and a bit of time, you can often fix minor damage yourself. However, for more significant cracks or damage, it’s best to consult with a professional to ensure the window is properly repaired or replaced. Whether you choose to tackle the repair yourself or hire an expert, addressing the issue sooner rather than later will help prevent further damage and keep your windows looking and functioning their best.