Replacing windows is a significant home improvement project that requires careful planning and attention to detail. Whether you’re looking to improve your home’s energy efficiency, enhance its aesthetic appeal, or simply replace outdated or damaged windows, there are a number of steps you’ll need to follow to ensure a successful window installation. This step-by-step guide will help homeowners stay organized and fully prepared from selecting the right contractor to ensuring proper measurements and materials.

Step 1: Assess Your Window Needs and Budget
Before you begin selecting contractors and window styles, take the time to evaluate your goals and budget. Understanding why you’re replacing your windows—whether it’s for energy efficiency, aesthetics, or replacing old, damaged windows—will guide your decisions throughout the process. Establishing a clear budget helps you narrow down options without overspending, ensuring you get the best windows within your price range. Additionally, if energy efficiency is a priority, consider factoring in long-term savings on heating and cooling bills when choosing materials.

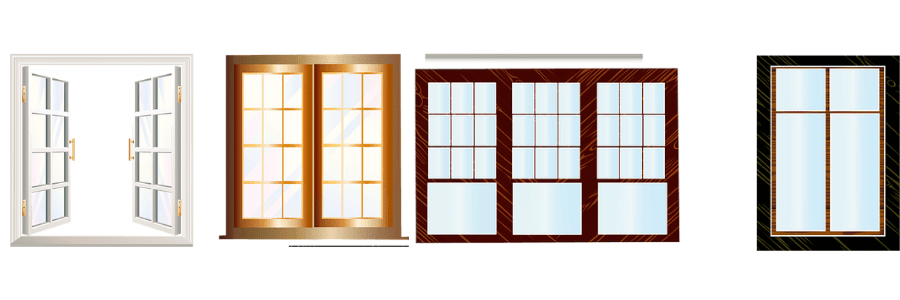
Step 2: Research Window Styles and Materials
The window style and material you choose will greatly impact both the performance and appearance of your home. Popular window styles include double-hung, casement, and sliding windows. Choose one based on functionality: do you need more ventilation, or are you looking for a larger view? Similarly, window materials (vinyl, wood, fiberglass, and aluminum) have distinct pros and cons. Vinyl is affordable and low-maintenance, while wood offers a more traditional look but requires upkeep. Additionally, think about energy efficiency—look for double or triple-pane windows, low-E glass, and gas fills to improve insulation.
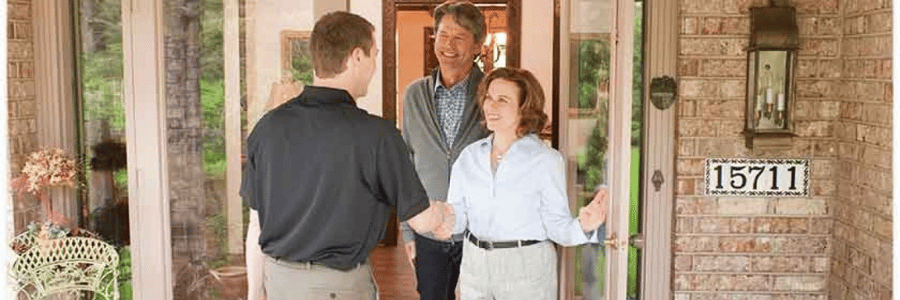
Step 3: Find a Reliable Contractor
Finding a skilled contractor is crucial to ensuring the job is done correctly. Start by getting quotes from at least three contractors and comparing the prices and details of their services. When choosing a contractor, make sure they are licensed and insured. Ask about their experience with the type of window you’ve selected and request references from past customers. A reputable contractor will provide a clear, written contract outlining the cost, timeline, and warranty. This contract should include all the specifics of the work to be done, so there are no surprises.
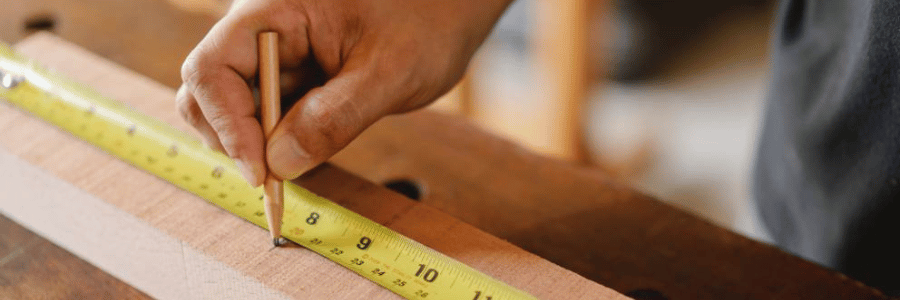
Step 4: Take Accurate Measurements
Accurate measurements are key to ensuring your new windows fit perfectly. Measure the width and height of the window openings at multiple points to account for any irregularities in the wall. Make sure to measure both the top and bottom (width) as well as left, middle, and right (height). A precise fit is essential for preventing air leaks or drafts. If you’re unsure about measuring yourself, many window companies offer professional measurement services to ensure accuracy.
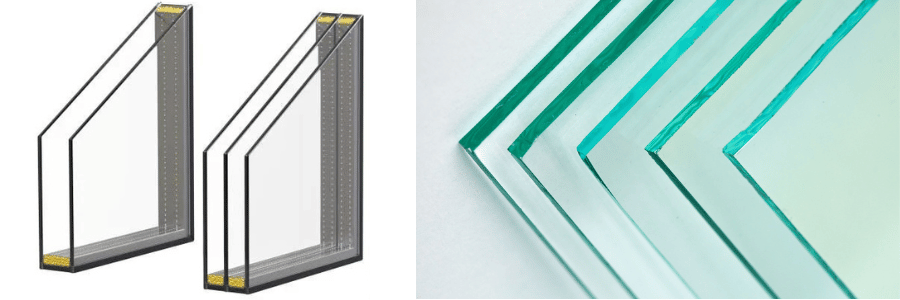
Step 5: Select the Right Glass Type
The glass you choose for your windows plays a significant role in energy efficiency, safety, and comfort. For maximum insulation, opt for double or triple-pane glass. Triple-pane windows provide the best insulation but come at a higher cost. Low-E glass coatings help reduce heat transfer and block harmful UV rays, while argon or krypton gas between panes further boosts energy efficiency. If safety is a concern, tempered glass is a stronger and safer option, especially for windows in high-traffic areas or doors.
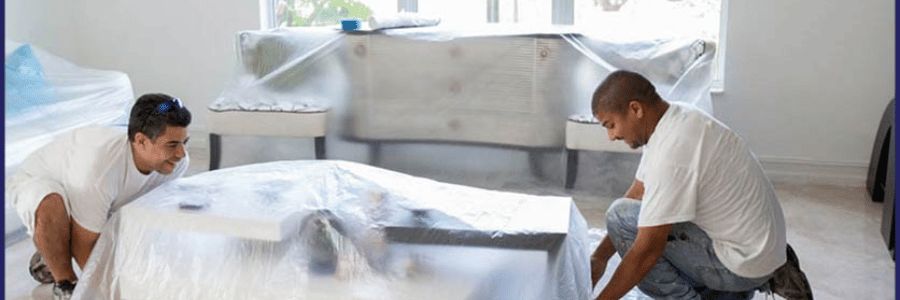
Step 6: Prepare Your Home for Installation Day
Proper preparation ensures a smooth installation process. Clear the area around each window, moving furniture, drapes, or plants to make room for the installation team. Lay down drop cloths to protect your floors from dust and debris. Be prepared for the noise and disruption that can occur during the removal of old windows and installation of new ones. If you have pets or children, consider making arrangements for them to be elsewhere during the process to avoid any safety issues.
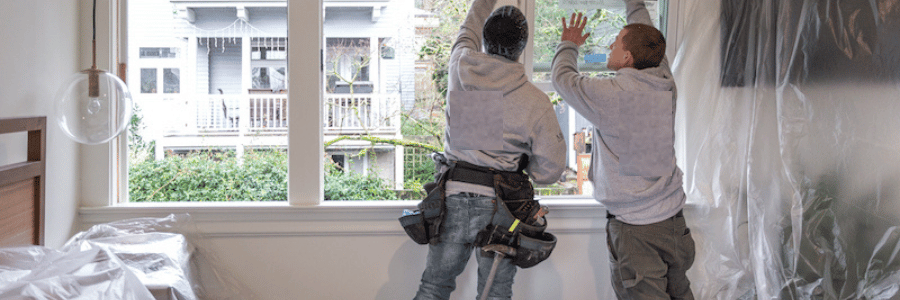
Step 7: The Installation Process
On installation day, the crew will begin by removing your old windows. Depending on the type of windows, this can involve some demolition and will create dust and noise. After removing the old windows, the new frames will be placed into the openings, secured, and adjusted to ensure a snug fit. Proper sealing and insulation around the window frames are essential for energy efficiency and preventing drafts. Finally, the installers will apply finishing touches, like trim and caulking, to ensure the windows look great and function correctly.
Step 8: Post-Installation Inspection
Once the installation is complete, it’s important to inspect the work thoroughly. Ensure that the windows open, close, and lock easily. Check the sealing and caulking around the frames to confirm there are no gaps or leaks. Make sure the trim and finishing are applied neatly and to your satisfaction. If you notice any issues, address them with the contractor immediately. Take the time to understand the terms of the window and installation warranties, as well as any ongoing maintenance instructions for your new windows.

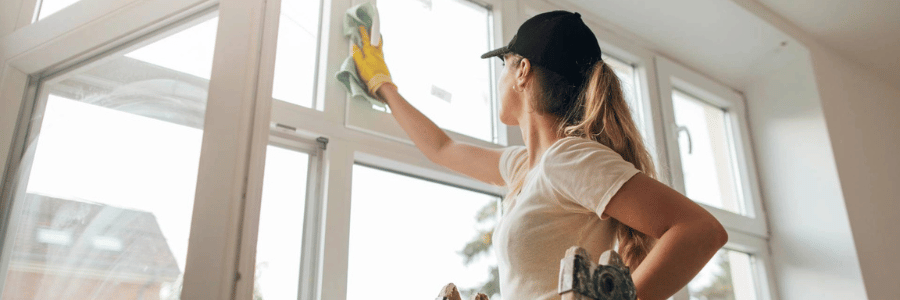
Step 9: Maintain Your Windows
Proper maintenance will extend the life of your windows and keep them functioning at their best. Regular cleaning is essential—wash the glass with mild soap and water, avoiding harsh chemicals. Check for wear on seals or weatherstripping every year and replace any damaged parts. Inspect the windows for air leaks, especially during seasonal changes, and re-caulk or replace weatherstripping as needed. Performing regular maintenance can help prevent costly repairs and ensure your windows continue to perform efficiently.
Conclusion
By following this step-by-step guide, you’ll be well-equipped to handle every aspect of the window installation process, from selecting the right materials to ensuring proper measurements and hiring a trusted contractor. Proper planning and attention to detail will ensure your new windows are installed successfully and provide lasting benefits for your home.